When it comes to ensuring your home has a steady supply of water, installing a water well can be a great solution. But before you dive into the process, there’s a lot to consider. Do you know what steps are involved in drilling a well? What materials will you need? And how much should you expect to spend? It might seem overwhelming, but don’t worry—we’re here to help break it all down for you. With proper preparation and guidance, you can successfully navigate the ins and outs of water well installation, paving the way for a reliable source of water that meets your needs for years to come.
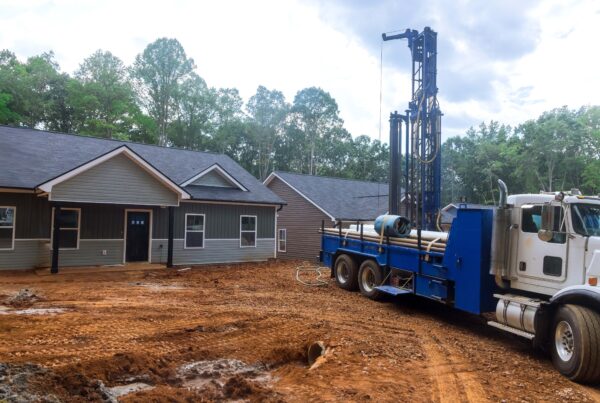
The water well installation process involves several key steps including site evaluation, drilling to reach groundwater, and setting up the well infrastructure. At Stevens Drilling, our experienced team ensures compliance with local regulations and utilizes high-quality materials to guarantee that your well is not only functional but also safe and reliable for long-term use.
Preparing for Water Well Installation
Before you dig into the ground, it’s essential to understand that every successful water well begins with thorough planning. It is not just about legally being able to drill but also ensuring that you’ve set up for success by assessing the site correctly and gathering the right components.
Step I – Researching Local Regulations
The first step in your preparation is understanding the local regulations that govern water well installation. Laws vary widely depending on your location, so reaching out to local water authorities or health departments can be vital. These organizations will inform you about necessary permits and any specific requirements unique to your area. Engaging with a reputable contractor like Stevens Drilling, who has extensive knowledge of local ordinances, can offer invaluable insights.
Knowledge of your rights concerning water usage is just as important. You might find restrictions based on surface water rights or groundwater rights—knowledge that protects both your investment and ensures sustainable practices.
With a clear understanding of the operational landscape, it’s now time to shift towards gathering the necessary materials and resources for installation.
Step II – Gathering Materials and Resources
Once you’re familiar with the local laws, assembling all required materials becomes the next critical task. You don’t want to start installing a well only to find yourself missing a key component halfway through!
Here’s a checklist of materials typically needed:
| Material | Purpose |
|---|---|
| Drilling rig | Essential for creating a borehole deep enough to access groundwater. |
| PVC and steel pipes | Form the casing of your well and guide water from underground reservoirs to your home. |
| Gravel pack | Prevents silt from entering the well while allowing water to flow freely. |
| Well screen | Fits over the well’s bottom end to keep out debris while still allowing water to flow in. |
| Submersible pump | Moves water from the well to your home when installed accurately. |
Assembling these tools demands meticulous attention—not just to quantity but also quality. Utilizing online resources, tutorials, and forums can clarify potential pitfalls in material selection and assembly. Consulting professionals can offer additional guidance, pointing out specific brands or materials they’ve found effective. Always remember: using high-quality components may cost more upfront but saves money long-term by reducing maintenance needs.
With foundational preparations complete, conducting a detailed assessment of your site will pave the way for further steps in this rewarding journey toward accessing reliable water through well installation.
Site Assessment and Permits
Proper site assessment is an essential first step in locating your new water well. Just like one would not build a house on shaky ground, you cannot simply drill a well anywhere without considering the geological aspects of your location. An informed choice about where to place your well will maximize your water yield and save you time and money in the long run.
Conducting a Site Survey
Engaging a hydrogeologist for a comprehensive site survey is crucial. These specialists have the expertise to identify prime drilling locations by analyzing the subsurface geology. They often employ methods such as electrical resistivity to gauge the area’s groundwater potential, ensuring that you can access abundant freshwater. It’s like having a map that points you straight to hidden treasure—water resources that might not be visible from the surface.
In fact, according to research from the U.S. Geological Survey, accurately selecting a site with professional guidance can enhance water yield by as much as 30%. This statistic underscores the importance of not cutting corners at this stage.
It’s worthwhile to remember that effective site assessments can lead to increased efficiency in all subsequent steps of your project.
Obtaining Permits
Once you’ve pinpointed the best location through rigorous site assessment, your next move is critical: securing permits for well drilling from local environmental and health departments. These legal approvals are more than just bureaucratic red tape; they safeguard both water quality and aquifer sustainability for your community.
When applying for these permits, expect to provide detailed information about your proposed well site and installation plans. Documentation often includes why you’ve chosen that particular location and potential impacts on local ecosystems. Think of it as ensuring that what you’re doing won’t just benefit you but also protect the shared resources that everyone relies on.
Navigating through permit applications can seem stressful, but it’s essential to ensure compliance with state and local regulations, leading to safe and sustainable well operation.
With permits ready and all preliminary checks completed, you’re poised to advance into exploring various drilling methods that will suit your specific needs for water well installation.
Selecting the Drilling Method
Choosing the right drilling method is vital for a successful installation, and understanding what each option entails can help you make an informed decision. The decision you make influences not just how quickly your well can be established, but also its capacity to deliver a consistent water supply. Each method has distinct advantages and is suited to different geological conditions.
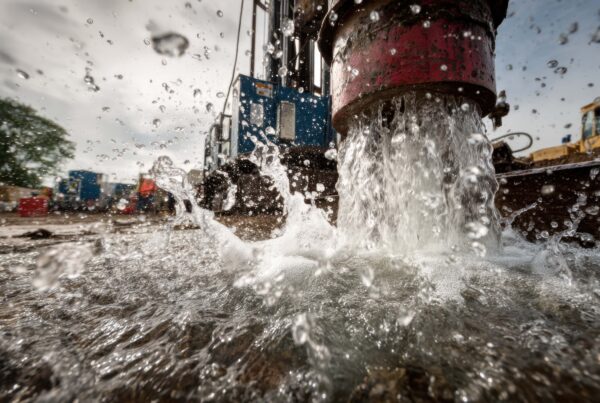
For starters, let’s examine Rotary Drilling, which is particularly effective for deep wells. This method utilizes a rotating drill bit that grinds through rock layers, making it suitable in areas where hard rock formations are prevalent. In places like La Vernia, Texas, where rocky substrates often lie beneath the surface, rotary drilling shines due to its ability to reach impressive depths; it can penetrate over 1,000 feet!
When opting for rotary drilling, it’s essential to consider not just the depth of the well but also the required equipment and expertise needed to execute this method effectively.
Now, moving on to another traditional technique: Cable Tool Drilling.
Cable tool drilling is a classic approach suited for shallower wells. Although it tends to be more time-consuming than rotary drilling, it offers a reliable means of accessing groundwater without causing excessive disruption to the surrounding soil. This technique involves a heavy drill bit attached to a series of cables that repeatedly lift and drop the tool to break up sediments or rock formations before retrieving cuttings. While it’s not as fast as other methods, many users appreciate its simplicity and reliability.
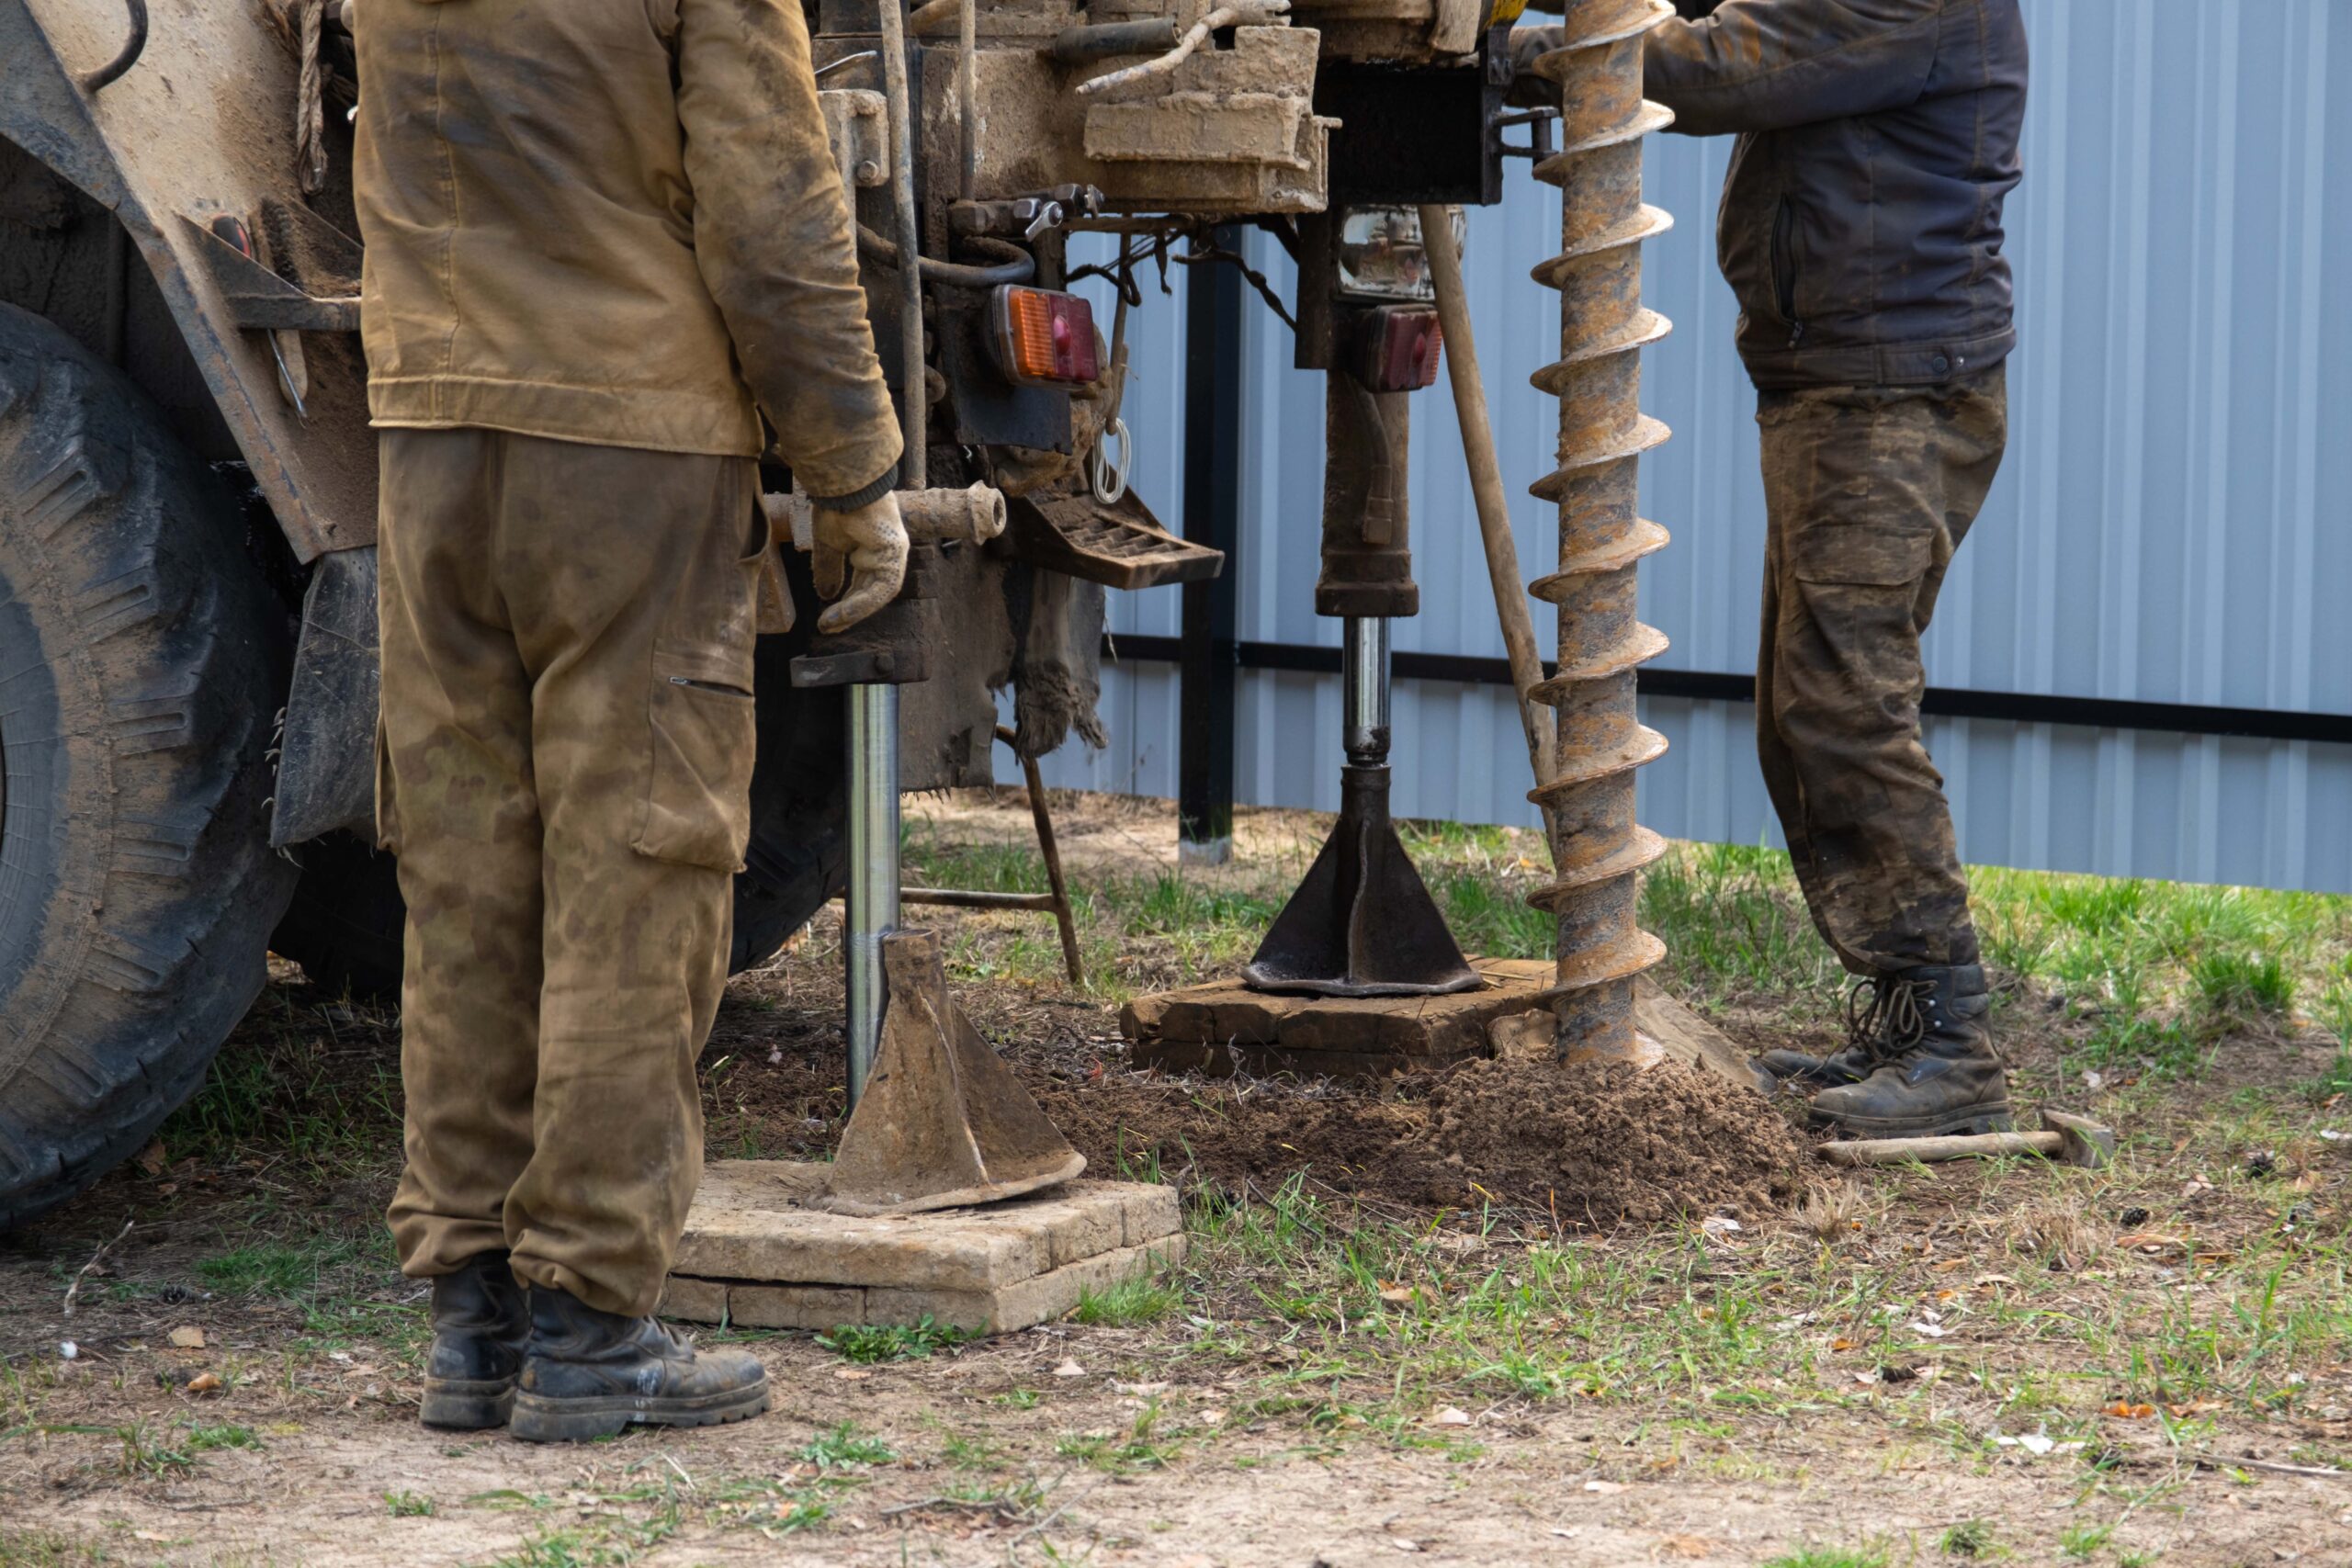
Lastly, there’s Auger Drilling, which is best suited for shallow wells that tap into softer soil types.
Auger drilling employs a helical screw mechanism that removes soil from the borehole as it’s driven downwards. This method works wonderfully in regions with sandy or loamy soils where less force is needed compared to rocky areas. Since it requires no water or air pressure for operation, auger drilling can be particularly effective when quick access to groundwater is essential. However, it’s important to note that auger drilling typically has depth limitations compared to rotary methods.
Understanding these various drilling methods not only lays the groundwork for effective installation but also prepares you for the next steps in establishing your well system—particularly how to equip and pump it efficiently.
Installing Equipment and Pump
First, let’s explore the installation of the well casing, which is pivotal for protecting your well. The well casing acts as a sturdy tube surrounding the well, preventing soil collapse and unwanted contaminants from entering the water supply. Depending on your particular soil conditions—such as moisture content or rock type—you’ll choose either steel or PVC material for this casing.
Imagine this casing as the protective shell that maintains the integrity of an egg. If compromised, what’s inside can spoil.
Step I – Installing Well Casing
To install the well casing, lower it straight into the drilled hole until it reaches the desired depth. The sealing should be tight at the top to avoid any infiltration by surface water or debris. Once installed, check all joints and connections thoroughly to catch potential weaknesses early on.
Once your casing is secure, attention turns to fitting a submersible pump into your new well. This component is crucial for transporting water from underground up to your household.
Step II – Installing the Submersible Pump
Think of this step as lowering a lifeguard into a pool—it needs to be just deep enough so that it can do its job effectively but not too deep where it becomes ineffective.
The submersible pump must be submerged at the right depth—a general rule is to place it approximately ten feet above the bottom of the well to allow for sediment clearance while ensuring optimal performance. After positioning, ensure that it is securely affixed and anchored.
Consulting with professionals such as Stevens Drilling can guarantee correct placement and installation, maximizing water flow efficiency. Our expertise simplifies an otherwise complex process and provides peace of mind about your investment.
Now that your pump is seated properly, it’s time to tackle electrical connections.
Step III – Electrical Connections
Connecting your pump to your home’s electrical system requires careful attention. Ensure that all connections are properly insulated and secured to prevent short circuits or fire hazards—a small oversight could have significant consequences.
Remember: When handling electrical components near water, safety should always come first!
Once these connections are made, test the system before fully integrating it with your home’s plumbing. Ensuring that everything functions properly will save you future headaches and costly repairs.
With all equipment securely installed, we now shift our focus toward understanding how to maintain safe water quality in your new system.
Ensuring Water Quality
Maintaining high water quality goes beyond simply having a well-installed system; it’s about creating a sustainable approach to monitoring and managing your water resources. With the vast amount of water we consume daily—from drinking and cooking to bathing—it’s clear that ensuring its quality is essential for health and safety. Untreated or poorly maintained water can expose you to harmful contaminants, making regular testing and maintenance crucial.
Water Testing
One important step in ensuring the safety of your water supply is scheduling annual water testing. This proactive measure checks for contaminants that pose significant health risks, such as bacteria, nitrates, and heavy metals. These substances can seep into groundwater through various sources like fertilizers, sewage, or industrial waste, leading to contamination that might not be visible to the naked eye. At Stevens Drilling, we offer comprehensive testing services tailored to ensure your water remains safe for consumption.
Regular tests don’t just identify potential issues; they also provide peace of mind. You can be assured that what flows through your tap is safe for you and your family.
Once testing is completed, it’s beneficial to consider options for regular maintenance. This might include installing filtration systems designed to remove impurities based on specific test results. Filtration can greatly enhance overall water quality by addressing particular contaminants found during testing. Whether you’re concerned about chlorine taste or microbiological safety, there are solutions available.
As you manage your water quality through diligent testing and appropriate filtration solutions, working with a knowledgeable service provider can further safeguard your resources and ensure ongoing maintenance needs are met. Turning our focus now to financial aspects associated with these systems is equally vital for responsible ownership.
Costs and Maintenance
When considering the investment in a water well, understanding both initial and ongoing costs is crucial. Planning for these expenses will not only help you budget effectively but also ensure that your well remains efficient and long-lasting. Think of it as planting a seed; the upfront costs may seem daunting, but with proper nurturing—both financially and physically—the rewards are bountiful.
Initial Costs Breakdown
Initial installation costs can vary significantly, generally ranging from $5,500 to $15,000. Factors such as the depth of the well and local labor rates influence this variation. In Texas, where Stevens Drilling operates, geographical considerations impact labor prices.
Here’s a rough breakdown of the components involved in the initial setup along with their estimated cost ranges:
| Component | Cost Range |
|---|---|
| Drilling | $1,500 – $3,000 |
| Well Casing | $700 – $2,000 |
| Pump Installation | $1,000 – $2,500 |
| Permits and Surveys | $800 – $1,500 |
| Misc. Supplies | $500 – $1,000 |
Each component plays a significant role in ensuring your well functions properly. For instance, while drilling gives you access to groundwater, well casing is essential to prevent contamination from surface water. Every dollar spent contributes to a system designed to provide clean water reliably year after year.
Ongoing Maintenance Costs
Once your well is installed, it’s critical to keep it in good shape through regular maintenance. Generally, annual maintenance costs can run between $150 to $300 for routine inspections and comprehensive water testing. This ensures your water remains pure and the functionality of your well is intact.
One satisfied customer stated, “Routine maintenance by Stevens Drilling saved us from costly repairs down the road.” These small yet consistent investments add up over time, preventing larger issues from developing.
Planning these costs helps ensure the longevity and efficiency of your water well system while safeguarding your health and investment in quality water resources. Understanding both initial and ongoing expenses equips you to make informed decisions about your water supply needs.
Together with careful planning, investing in proper water well installation can yield significant benefits in terms of access to reliable water sources.