Water is essential for life. Whether you’re quenching your thirst, watering your garden, or keeping cattle healthy, having easy access to clean water is crucial. But have you ever thought about where that water comes from? Water well drilling is the process that taps into underground sources, providing us with a reliable supply. It may sound straightforward, but there’s much more involved than just digging a hole in the ground. From understanding local regulations to budgeting for unexpected costs, every step matters in securing that precious resource. In this guide, we’ll walk you through everything you need to know about water well drilling—so you can feel confident every time you turn on your tap.
Water well drilling is the process of creating a borehole to access groundwater for various uses such as residential, agricultural, or commercial purposes. At Stevens Drilling, we offer comprehensive services including water well drilling, installation, and maintenance to ensure reliable access to clean water in South Texas.
Planning and Preparation
Before you even think about breaking ground, it’s important to first understand what you’re getting into. Planning your drilling project involves thorough research and understanding of the landscape, the water source, and local regulations. Think of it as building the foundation of your home: without a solid base, everything else is on shaky ground.
One critical aspect of planning is being aware of the legal requirements associated with water well drilling in your region. These laws protect both the environment and public health. For instance, here in Texas, you’ll need to secure a permit from the Texas Commission on Environmental Quality. This isn’t just a formality; the permit process ensures that your well complies with state regulations designed to manage groundwater responsibly.
Imagine embarking on this process without proper permissions—paving the way for potential fines or having to dismantle work you’ve already done. That’s a headache nobody wants! Therefore, before you proceed, it’s advisable to consult local authorities or their websites for specific requirements tailored to your locale.
Key Preparation Steps
As you engage in the planning process, consider these pivotal preparation steps:
- Research local regulations: Check with your local government for permits required in your area.
- Determine your water needs: Assess whether the well will be for household use, irrigation, or both. Knowing how much water you’ll need significantly influences the depth and location of the well.
- Survey your property: Take time to survey potential sites for your well. Factors such as soil conditions and proximity to structures play a crucial role.
- Contact drilling contractors: Don’t settle for the first estimate you receive. Reach out to various contractors and compare their offerings; this helps ensure you choose someone qualified and experienced who can meet your specific needs.
A well-planned project may seem tedious initially, yet it pays dividends down the line by smoothing out troubleshooting headaches. If you take the time upfront to evaluate these factors systematically, you’ll streamline the entire drilling process.
With a solid foundation established through planning, focusing on identifying an optimal site is essential as it directly impacts water supply efficiency and sustainability.
Evaluating the Location
Choosing the right place for your water well is akin to laying the foundation for a house—it sets the stage for everything that follows. An ideal location ensures not only optimal water access but also longevity and sustainability of your well. Conducting geological surveys can be a game changer. These studies reveal crucial insights about underground water sources, helping you determine where drilling will yield the best results.
When evaluating potential drilling sites, pay close attention to several key factors such as soil composition, rock formations, and local water tables. For instance, loose, sandy soil may facilitate easier drilling but often requires deeper casing to prevent collapse once the well has been drilled. This extra casing helps stabilize the well walls as you draw water from greater depths.
On the flip side, rocky terrain presents its own challenges. Specialized drilling techniques may become necessary in these areas, but there’s often a silver lining: such environments can offer stable and consistent water yields, making the effort worthwhile. Understanding these dynamics helps in weighing your options and setting realistic expectations.
The quality of groundwater is equally significant; testing it for contaminants or minerals prior to planning will save you headaches later on. A comprehensive analysis might reveal issues like high salinity or iron content that could affect the usability of your water. This data not only guides the drilling process itself but also informs subsequent filtration solutions, keeping customer satisfaction at the forefront.
Another essential aspect is considering any nearby physical barriers that could impact your well’s functionality. For example, proximity to septic systems or areas prone to flooding could compromise your water source over time. Therefore, a thorough site evaluation should encompass local geography in addition to soil and rock assessments.
With all these variables in mind, transitioning to address financial preparedness will help ensure smooth execution of your project while avoiding unforeseen expenses down the road.
Budgeting Your Well Project
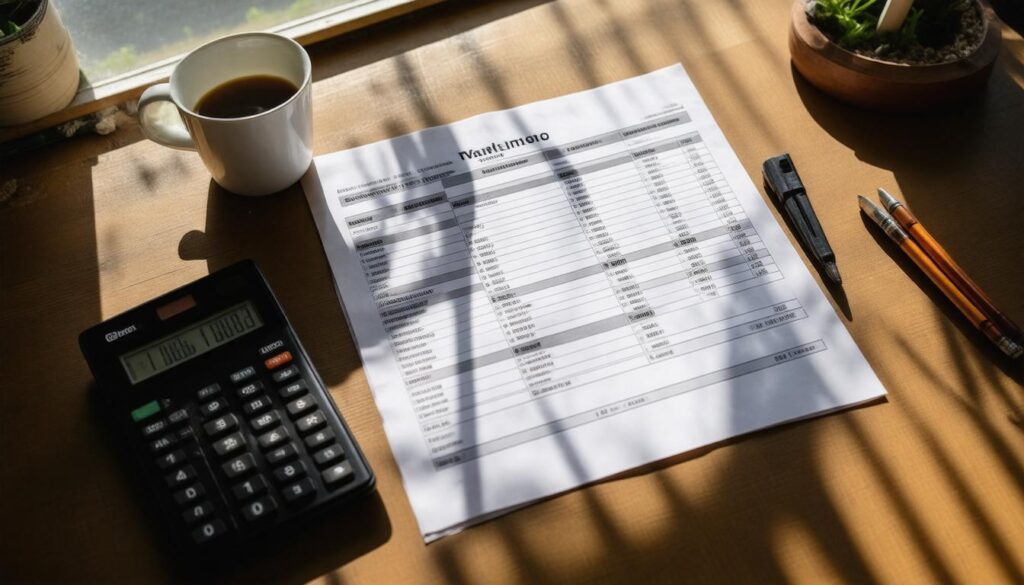
The cost of drilling a well can range significantly, typically from $1,500 to $12,000, influenced by various factors such as depth, location, and local geology. When determining your budget, it’s crucial not only to consider the initial drilling costs but also additional expenses that might arise throughout the process.
Initial Costs and Hidden Expenses
For instance, you may need to account for permits, which can range between $200 and $500. Permits ensure that your well complies with local regulations, protecting not just your investment but also the groundwater resources in your area. Additionally, when budgeting for drilling, remember that ongoing maintenance will be necessary to keep your well functioning correctly over the years; this could include regular servicing or filtration system upgrades.
A detailed understanding of your expected costs helps eliminate surprises down the road.
Breakdown of Potential Costs
| Expense Item | Estimated Cost |
|---|---|
| Initial Survey/Study | $500 – $1,000 |
| Drilling | $15 – $30 per foot |
| Casing | $250 – $2,500 |
| Pump Installation | $1,500 – $3,000 |
| Permits | $200 – $500 |
This table gives a clearer picture of what to expect financially. For example, while the cost of drilling can vary by foot, remember that each type of geological formation may require special handling or techniques that can influence overall expenses. Understanding these costs allows for more strategic planning.
Planning for the Future
In defining your budget, take into account future considerations such as well rehabilitation if water yield drops or if water quality issues arise. It’s essential to address performance loss promptly to avoid increased costs in the long run.
As you create your budget for the water well project, being comprehensive ensures you will have adequate funds to cover both expected and unexpected needs throughout the lifespan of your well.
With a solid budget in place, you are now prepared to explore the specific methods used in this intricate process.
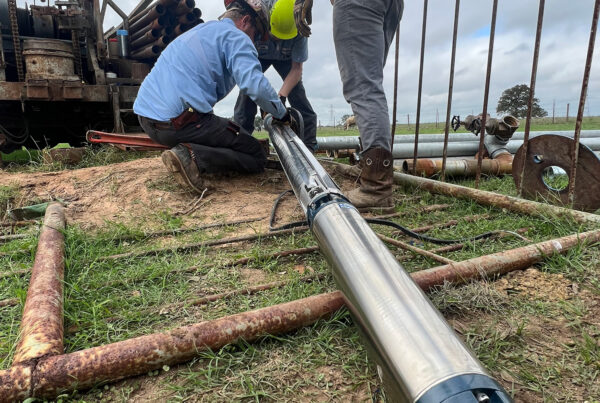
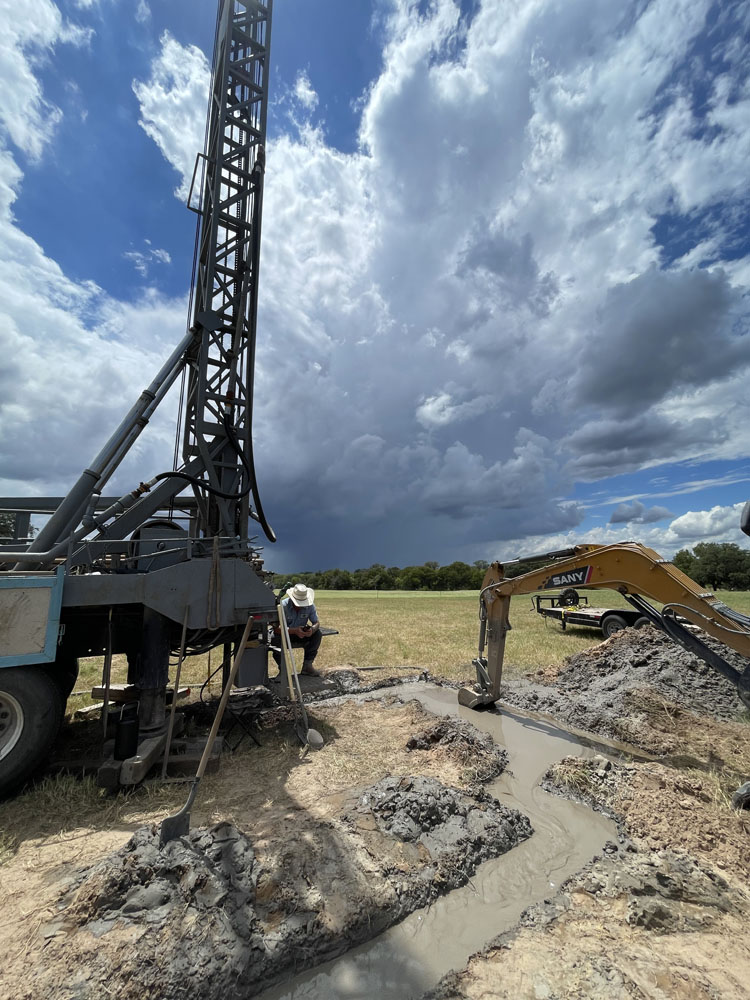
The Drilling Process
The drilling process is an intricate procedure, comprised of several stages that work together to ensure a water well is established correctly. It’s not just about boring a hole in the ground; it’s about precision, care, and adherence to techniques that ensure sustainability and longevity of the well. Each method used in this process can significantly impact both efficiency and cost.
The initial stage begins with setting up the rig. This setup isn’t merely a matter of placing equipment on-site; it involves careful planning and consideration of the site conditions. Once everything is in place, the operator starts the actual drilling. Here, heavy machinery cuts through layers of earth, rock, and gravel, making way for what will eventually become your well.
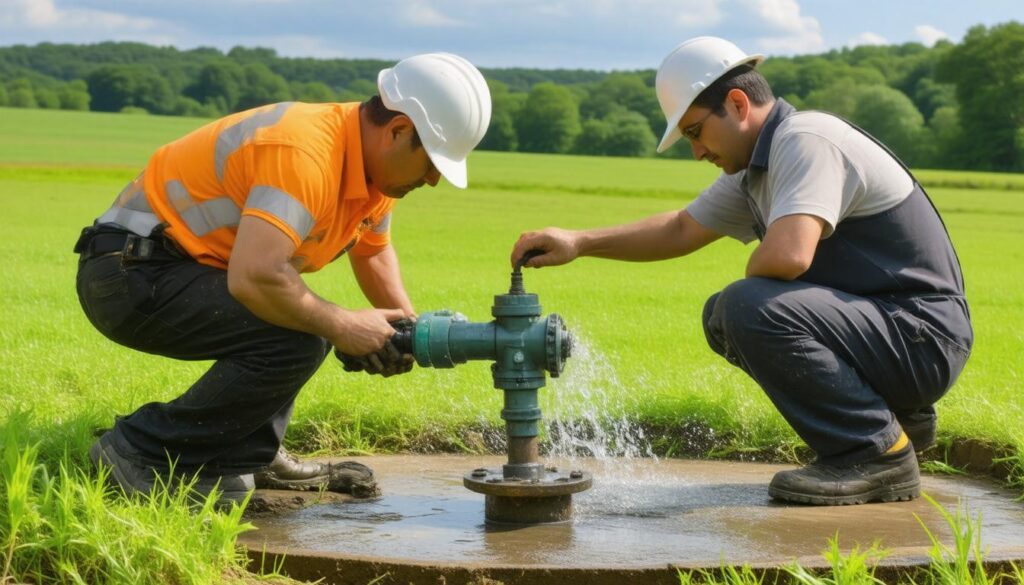
Casing Installation
But drilling alone isn’t enough; this next step plays an equally important role in safeguarding your investment.
After reaching sufficient depth, casing installation commences. Casing refers to the piping that lines the well, preventing contaminants from entering the water supply. Think of it like ensuring a clean reservoir that protects your water source. This stage stabilizes the borehole—keeping it from collapsing and maintaining its integrity over time. Proper casing not only ensures safe drinking water but also enhances the overall performance of the well.
Well Development
Now that we’ve secured our well with casing, it’s time to refine its function further through development.
Following casing installation, well development takes place. This phase focuses on removing debris and consolidating the filters within the surrounding aquifer. It essentially prepares your well for optimal water flow by enhancing permeability and reducing sedimentation that could clog filters or lenses. Techniques such as high-flow pumping and mechanical surging are often employed to boost yield during this vital stage. Just as you would tune an engine for peak performance, developing your well guarantees that you access as much groundwater as possible.
Why Maintenance Matters
With these stages completed, it’s essential to recognize that ongoing maintenance is crucial to reap the benefits of your newly drilled water well.
As with any significant investment, regular upkeep ensures longevity and functionality. Monitoring pump operations, checking for sediment buildup, and performing routine inspections can help prevent costly issues down the line. A bit of preventative care today pays dividends tomorrow—it’s truly about preparing for reliability with every drop!
Understanding each step brings clarity to why specialized services like those offered by Stevens Drilling are vital in delivering efficient and sustainable water solutions. Our commitment helps maintain smooth operations while serving our communities in South Texas with reliable access to clean water.
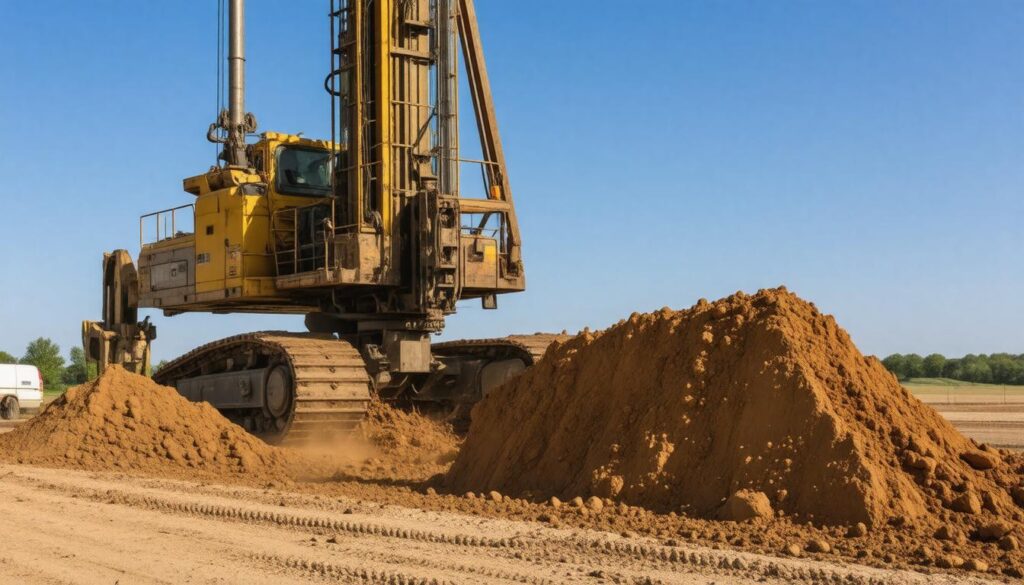
Selecting the Right Drilling Rig
Choosing the right drilling rig is crucial, as it directly impacts both efficiency and cost. Different rigs bring varying capabilities to the table, so understanding what each one offers is essential. For instance, rotary rigs showcase versatility and are equipped to handle a broad spectrum of soil types and depths. This adaptability makes them ideal for deeper water wells, giving you more options for sourcing quality groundwater.
However, it’s important to consider the financial aspect; these machines can be on the pricier side due to their complex design and functionality. In contrast, if you’re operating on a tighter budget or need to drill in shallower formations, cable tool rigs might be a suitable alternative. While they tend to drill more slowly, they excel in penetrating hard soils, making them particularly effective for shallower wells where rock formations can be a concern.
To make an informed decision about which rig to choose, assessing your specific conditions is paramount.
Beyond just your budget and soil type, consider other factors like your desired well depth and expected yield. The geological conditions of your drilling site play a significant role too—if your land consists of rocky or dense layers, you might want to lean towards a rig that specializes in handling tougher terrains. Moreover, local regulations and water rights considerations can also influence this decision.
Consulting with an experienced contractor is invaluable; they can evaluate all these aspects and recommend the most effective rig tailored specifically to your needs. By leveraging their expertise, you ensure that whether you opt for rotary or cable tool rigs, the rig you select will help streamline operations and maximize drilling success.
Selecting the right rig isn’t just about upfront costs; it’s an investment toward efficient drilling that safeguards both time and money in the long run.
Having chosen your rig wisely and completed the drilling process, the next step involves focusing on effectively setting up the mechanism for extracting water efficiently.
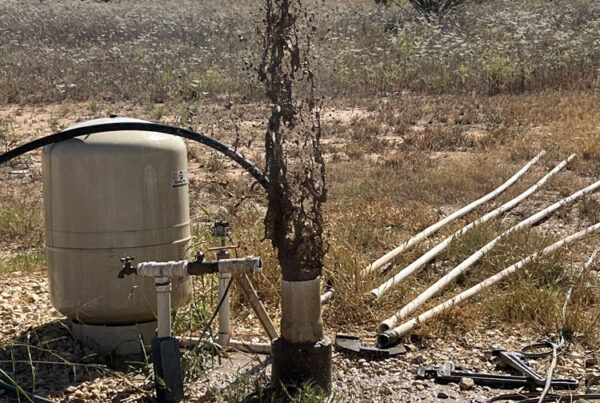
Installing the Well Pump
When it comes to getting a well pump installed, the process may seem straightforward, but there are essential steps that need careful attention. At its core, a well pump acts as the bridge between the underground aquifer and your home’s plumbing system. It essentially lifts water from deep within the earth to supply your household, making it a crucial component of any well system.
Choosing the Right Pump
As mentioned earlier, there are two primary types of pumps: submersible and jet pumps. Each has its own strengths and weaknesses based on your unique well conditions. Submersible pumps are designed to be submerged deep underwater, making them incredibly efficient for deep wells. On the other hand, jet pumps can work wonders in shallower wells due to their mechanical advantage of drawing water upward.
Deciding which one is best typically comes down to evaluating factors such as the depth of your well, required water pressure, and personal preferences regarding maintenance.
Now that you have chosen the right type of pump, let’s move on to the actual installation process.
The first step in installation typically involves preparing the site where the pump will be placed. This includes digging around the top of your well casing and ensuring you have enough room to maneuver safely during installation. If you’re using a submersible pump, you’ll find that proper positioning is vital; it’s usually recommended to ensure it’s at least 10 feet below the static water level for optimal performance.
Wiring and Securing
Once positioned correctly, wiring comes into play. Connecting the pump to a power source involves running electrical lines from your power supply to the control box and then connecting it to the pump itself. These connections must be watertight and meet local codes to prevent any risk of electrical accidents or contamination from groundwater seeping in.
“After switching to a submersible pump, our water flow has never been more consistent,” says Sarah from Bexar County.
The integrity of these connections cannot be understated, as poor wiring could lead not only to inefficiency but also potentially hazardous situations. This is often where professional expertise is invaluable—it’s worth investing in an experienced installer who understands both technical aspects and local regulations.
Sealing Against Contamination
An equally important step post-installation is ensuring that your wellhead is properly sealed. A wellhead seal keeps harmful contaminants at bay, ultimately safeguarding your drinking water supply. It works by creating a barrier against surface pollutants like sediment, chemicals, and even pests.
After checking all connections and securing adequate sealing measures around the wellhead, it’s essential to conduct a thorough test of the entire system before declaring it operational. This includes checking for leaks in plumbing connections and ensuring that water flows freely through your taps without any obstruction.
Moving ahead with these steps will greatly enhance both the efficiency and safety of your water system—preparing you for effective upkeep as time goes on.
Maintaining Your Water Well
Proper maintenance of your water well is not just about convenience; it’s a matter of health and safety. Regular upkeep can significantly prevent costly repairs and safeguard the quality of your drinking water. Imagine turning on your faucet and having nothing come out due to unchecked issues. Maintenance could have prevented that startling realization! In fact, routine maintenance can extend the life of your well system by up to 20 years, ensuring that it continues to serve you without unexpected interruptions.
Key Maintenance Tasks
There are several crucial tasks you should incorporate into your maintenance routine. First and foremost, regular water quality testing for contaminants is vital. Testing should typically be done at least once a year; however, frequent testing is advisable if nearby agricultural activities or other pollution sources exist. This helps identify bacterial contamination or heavy metals that could jeopardize health.
The second step is to perform a routine inspection of the well casing and cap. Checking for visible signs of wear or damage ensures that no contaminants can enter the well. A cracked casing or loose cap might seem minor but can lead to major problems if not addressed promptly.
Lastly, periodic professional inspections of the pump and electrical systems cannot be overstated. These components are intricate and may require specialized knowledge for efficient diagnosis. To this end, Stevens Drilling offers a comprehensive well maintenance package that includes annual inspections, thorough water testing, and pump servicing, providing peace of mind that all aspects of your system are functioning optimally.
Additional Considerations
When maintaining your well, don’t forget about the surrounding elements; keeping vegetation trimmed back will help reduce contaminants affecting the groundwater source. Additionally, keep an eye on the water level—sudden drops could indicate larger issues with your well.
By embracing these key maintenance practices, you’re not only preserving the functionality of your water well but also actively contributing to the community’s health through clean water availability.
The commitment to regular upkeep will go a long way in ensuring you have reliable access to clean water while protecting your investment. For detailed information on services available for maintaining your water well, visit Stevens Drilling.
In ensuring a healthy and efficient water supply through consistent maintenance, you’re making a significant investment in both your family’s health and the longevity of your well system.