Thinking about installing a water well on your property? It might seem as simple as drilling a hole and pumping water out, but there’s a lot more to it than meets the eye. From understanding local rules and checking the underground water to choosing the right equipment, each step matters if you want a well that works smoothly for years. This guide walks you through everything you need to know to get it right—from cost to maintenance—so you can avoid surprises and enjoy clean water with confidence.
Water well installation involves drilling into underground aquifers to access clean, reliable water for residential, commercial, or agricultural use. At Stevens Drilling, we provide expert site evaluation, drilling, casing, pump installation, and testing services throughout Texas Hill Country to ensure your well is installed safely and efficiently for long-term performance.
Key Considerations Before Installation
Understanding local regulations isn’t just bureaucratic red tape—it’s a necessary foundation for responsible well installation. Many Texas Hill Country residents often overlook this step, but securing the appropriate permits and licenses ensures your project runs smoothly without costly fines or forced modifications down the line. Whether you’re around La Vernia or Boerne, counties may have distinct rules governing well drilling, so a quick call to county offices or checking with the Texas Commission on Environmental Quality (TCEQ) is always wise.
It’s equally important to clarify water rights if your well will serve irrigation or commercial use, as these can involve separate legal requirements that impact how much water you’re allowed to withdraw.
Once regulatory green lights are in place, turning your attention underground is next—specifically, evaluating the water table and quality where you plan to drill.
The groundwater situation can vary dramatically across the Texas Hill Country. According to the United States Geological Survey (USGS), water tables here might lie just a few feet below ground in some locations but plunge hundreds of feet deep in others. Knowing this early saves frustration and expense by helping Stevens Drilling recommend appropriate drilling depths and equipment tailored for your property.
Beyond depth, testing water quality is crucial—each well should be checked for natural contaminants like minerals, bacteria, and other impurities to ensure safe use. This is where expertise comes into play: we guide customers through trustworthy laboratory tests and interpret results, suggesting filtration systems or treatments when needed.
With a clear picture of regulations and groundwater conditions, it’s time to think about how much water you actually need—and designing your system accordingly.
Water demand isn’t one-size-fits-all. A typical family of four uses about 400 gallons daily, yet factors such as irrigation needs or livestock watering can push that number much higher. Calculating these requirements upfront allows us at Stevens Drilling to size wells and pumps properly so you don’t risk running out of water during critical times.
It also prevents investing unnecessarily large systems that inflate costs without benefit. For homeowners in rural Texas who depend on their wells not only for everyday needs but also for agricultural use, balancing this aspect carefully means a more efficient system built for long-term reliability.
| Consideration | Why It Matters | Recommended Action |
|---|---|---|
| Permits & Licensing | Avoid legal issues | Contact local authorities; secure permits early |
| Water Rights | Legal access to groundwater | Verify rights if using well for irrigation or commercial aims |
| Water Table Depth | Determines drilling depth & cost | Use geological surveys or local agency data |
| Water Quality | Ensure safe drinking/usage | Conduct laboratory testing before installation |
| Daily Water Usage | Matches well capacity with needs | Calculate based on household and other water use |
Taking these considerations seriously before breaking ground helps prevent delays and ensures your investment stands the test of time. Our years serving the Texas Hill Country—from San Antonio to Gonzales County—have reinforced how personalized guidance combined with adherence to regulations leads to worry-free, sustainable well systems. At Stevens Drilling, we pride ourselves on navigating these complexities so that each customer gets exactly what their property and lifestyle demand.
In water well installation, as in life, preparation isn’t just half the battle—it can be the difference between success and frustration.
Understanding the groundwork is only part of the story; assessing the site itself is equally crucial as you move closer to launching your well project.
Site Selection and Preparation
Choosing the perfect site for drilling your water well isn’t just about picking a convenient spot in your backyard—it’s a crucial decision that influences both water quality and well longevity. You want to aim for areas with high permeability, where water can easily flow through the ground into your well. This often means soils or rock types like sandstone or gravel, which act like natural filters and conduits. These materials allow water to replenish faster and minimize potential blockages in your system.
Just as important is steering clear of any nearby contamination sources. For example, wells placed too close to septic tanks, animal barns, or chemical storage sites run a serious risk of pollution. Contaminants infiltrating groundwater don’t just affect taste—they can be harmful to health. That’s why ensuring a safe distance from such sites is more than precaution; it’s an essential safeguard for reliable, clean water over time.
Once you’ve settled on your ideal location considering these geological and environmental factors, it’s time to turn attention to preparing the site for drilling.
- Clearing the Area is your first practical step. It may sound simple, but removing rocks, brush, trees, or any other debris clears a path for heavy machinery without delays or damage. Uneven or cluttered terrain can hinder the process and make it unsafe for workers and equipment alike.
- With the area cleared, marking boundaries becomes vital. This ensures that everyone involved knows exactly where drilling will happen — preventing accidental disturbances to underground utilities or neighboring properties. Clearly marked zones also help keep passersby safe from construction hazards during the drilling phase.
- Finally, before even setting foot with your drill rig, consulting professionals is indispensable. Expert pre-drilling assessments consider subsurface geology and local regulations that may impact well placement. At Stevens Drilling in Texas Hill Country, we conduct thorough evaluations to align site conditions with optimal drilling techniques—making sure your investment is sound from day one.
Proper site preparation doesn’t just facilitate easier drilling; it protects your property and ensures regulatory compliance while setting up the best chance for abundant water yield and minimal maintenance headaches later on.
Taking care during this initial phase smooths the way forward, allowing the complex steps ahead to proceed with fewer obstacles and greater confidence.
Drilling Process Explained
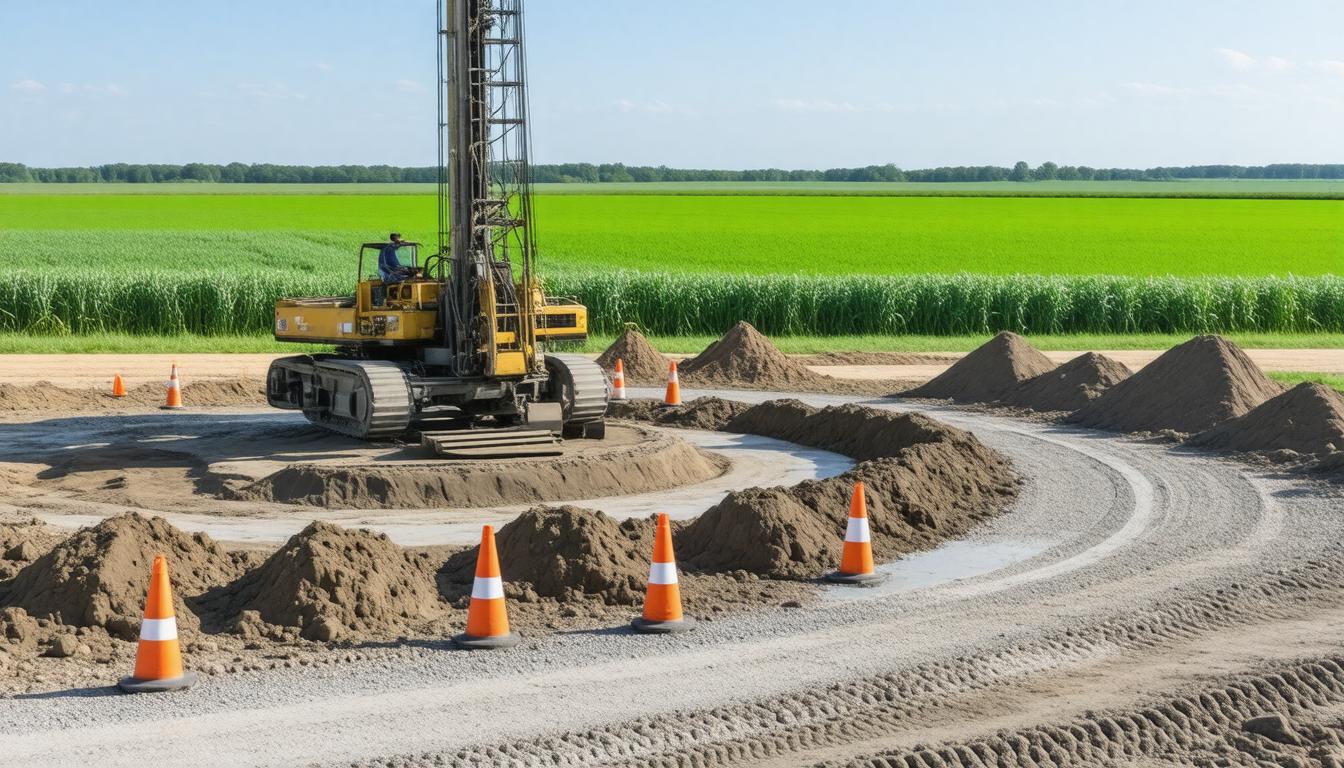
Drilling a water well is more than just digging a hole; it’s a precise operation grounded in experience and technique. The process begins by mobilizing the drilling equipment, which means transporting and setting up the drilling rig right where you’ve selected your site. This rig is an intricate assembly of parts: the drill bit, long threaded pipes called drill rods, motors, and control systems. Positioning this machinery requires careful alignment to ensure that the borehole will go straight down and meet the underground water source effectively.
Once everything is in place and double-checked for safety and accuracy, the real work starts beneath the surface.
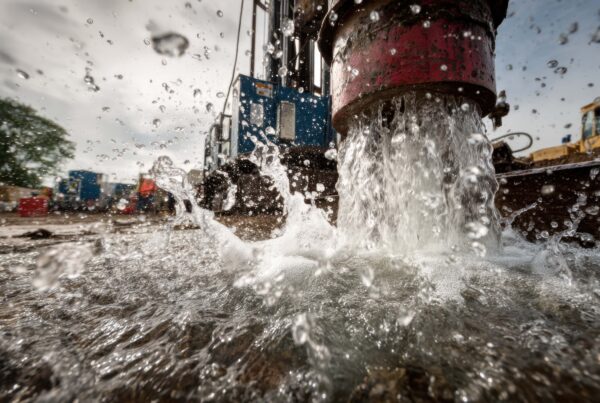
The heart of this phase is drilling the borehole itself. The drill bit spins and digs its way down, breaking through layers of earth and rock with steady pressure. Depth can vary widely—residential wells often plunge anywhere from 100 to 500 feet deep depending on regional geology—which means the duration and difficulty of drilling change accordingly. As the drill penetrates soil types that range from loose sand to solid limestone, operators must constantly adjust speed and force to maintain progress without damaging equipment or causing borehole collapse.
Importantly, drilling isn’t simply about reaching depth; it’s also about preserving borehole integrity during excavation. The right choice of drill bit and constant monitoring help avoid issues like caving or contamination from nearby strata.
Reaching your target depth kicks off another vital step—fortifying the borehole so it becomes a reliable conduit for clean water.
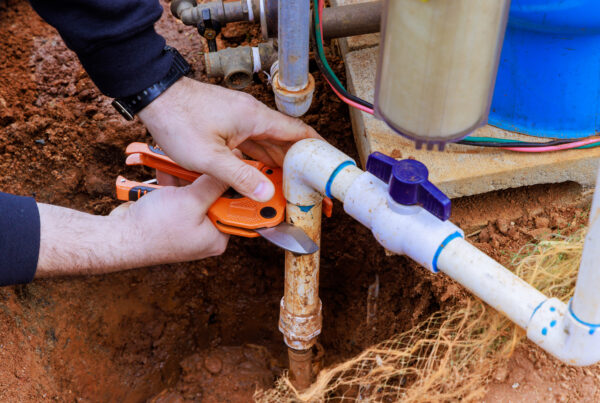
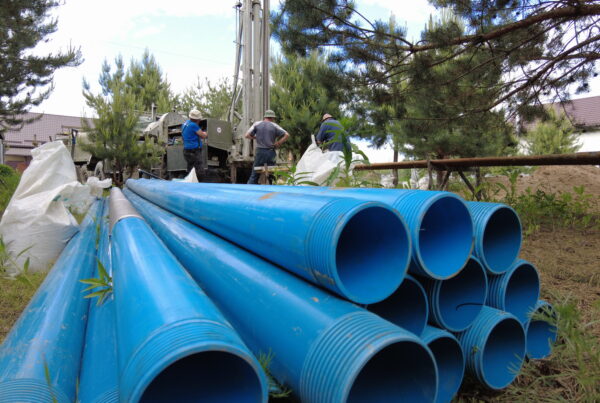
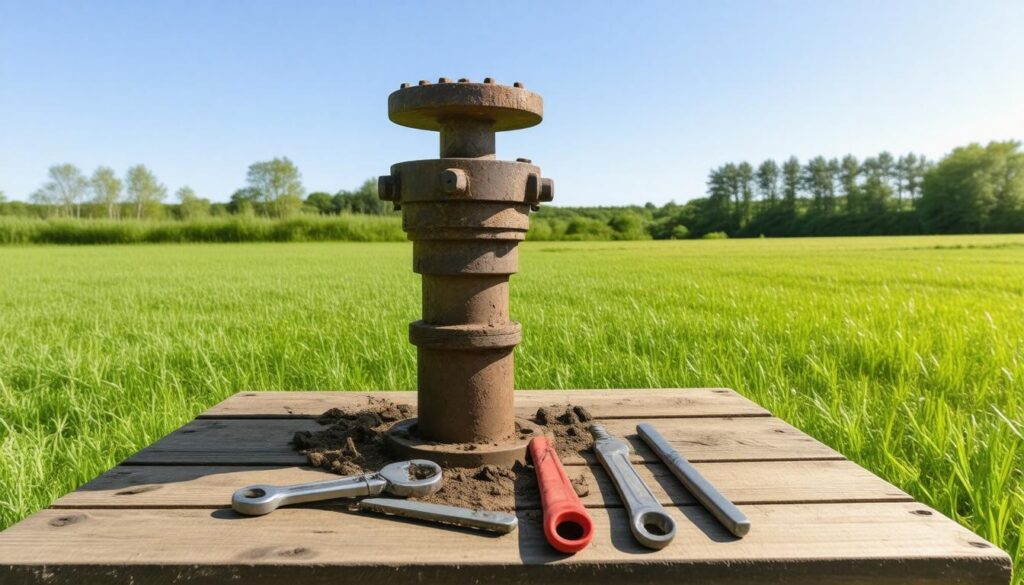
Casing installation follows closely behind drilling completion. These are sturdy steel or PVC pipes inserted into the borehole to keep its walls intact and prevent loose material from falling in. Without casing, shifting soils or collapsing sediments could plug the well or contaminate your water supply. At the bottom of these casings sit screens—a critical filter designed to let water pass while holding back sand and debris that might otherwise erode pumps or clog pipes.
Using properly sized screens matched to local sediment types ensures your well delivers clear water consistently. It’s a small investment upfront that saves significant headaches later.
Securing casing and screens completes the basic structure of your well, but this construction stage lays the groundwork for years of dependable service—so every detail matters greatly during drilling.
Throughout these steps, seasoned well drillers like those at Stevens Drilling emphasize precision, patience, and adaptability. Their decades-long experience in Texas Hill Country involves navigating varied soil conditions—from soft clays near San Antonio to rocky formations closer to Boerne—and tailoring techniques accordingly. This expertise not only speeds up installation but enhances well longevity, reducing costly repairs later on.
“A well-drilled well is more than just a hole in the ground; it’s an engineered pathway to life-sustaining water,” remarks Jimmy Stevens, co-owner of Stevens Drilling.
Whether you’re commissioning a residential or larger commercial water system, understanding this drilling journey is key. It isn’t just physical labor—it’s a technical art form that combines heavy machinery with geological insight to secure clean water beneath your feet for decades ahead.
Following this foundational work on the structure of your well, attention now shifts toward outfitting it with essential components like pumps and controls that ensure efficient water delivery to your property.
Installing Well Components
The installation of well components might not be as flashy as drilling that deep hole, but it’s where all the magic happens. After all, it’s these parts that actually bring water from underground into your home or farm. The foundation for efficient and reliable water delivery rests on choosing and correctly installing the right pieces. Most commonly, you’ll find a combination of a pump, a pressure tank, and control systems working in harmony.
First up is the pump, often called the heart of the system. Selecting what kind of pump to install depends heavily on how deep your water source is and how much water you anticipate needing. For deeper wells, submersible pumps are typically preferred because they sit underwater and push water upward efficiently without loud motor noise above ground. If your water table is shallow, a jet pump placed above ground might suffice. Getting this choice right upfront saves headaches down the road—an overpowered pump wastes energy; an underpowered one won’t deliver enough water.
Next, there’s the pressure tank—a component that quietly balances water flow so you don’t get sudden surges or drops in pressure when you turn faucets on or off. Think of it as a buffer system that supplies instant water while signaling the pump when to kick in again. Without a functioning pressure tank, your pump would cycle constantly, wearing out faster and wasting electricity. The tank’s size and type need to match your household demand; larger families or farms require bigger tanks or multiple units.
The final piece in this trio is the control systems, which include pressure switches and control boxes designed to automate pump operation safely and efficiently. These tiny devices act as sensors; they tell the pump when to start pumping based on preset pressure thresholds and shut off before damage occurs. Quality controls prevent issues like dry running (which ruins pumps) or short cycling (rapid on/off cycles). Modern systems may also come with alarms or remote monitoring capabilities—a smart investment for peace of mind.
Proper installation isn’t just about fitting parts together—it requires precise calibration and electrical wiring knowledge to ensure everything works seamlessly. This is not something to leave to chance or amateur attempts. Engaging experienced professionals like Stevens Drilling ensures these components are installed per manufacturer guidelines, comply with local regulations, and provide years of trouble-free service.
Remember, even the best parts won’t save you if they’re poorly installed. For example, incorrect placement of the pressure switch can cause frequent pump cycling—a common cause behind many otherwise preventable repairs. Likewise, wiring errors in control boxes could lead to safety hazards or equipment failure.
“When it comes to your well’s longevity and performance, professional expertise isn’t a luxury—it’s essential.”
With well components correctly installed and calibrated by experts, you set a solid foundation for efficient water supply—shifting focus now toward understanding cost structures can guide smarter decisions on budgeting for installation projects.
Cost Breakdown of Installation
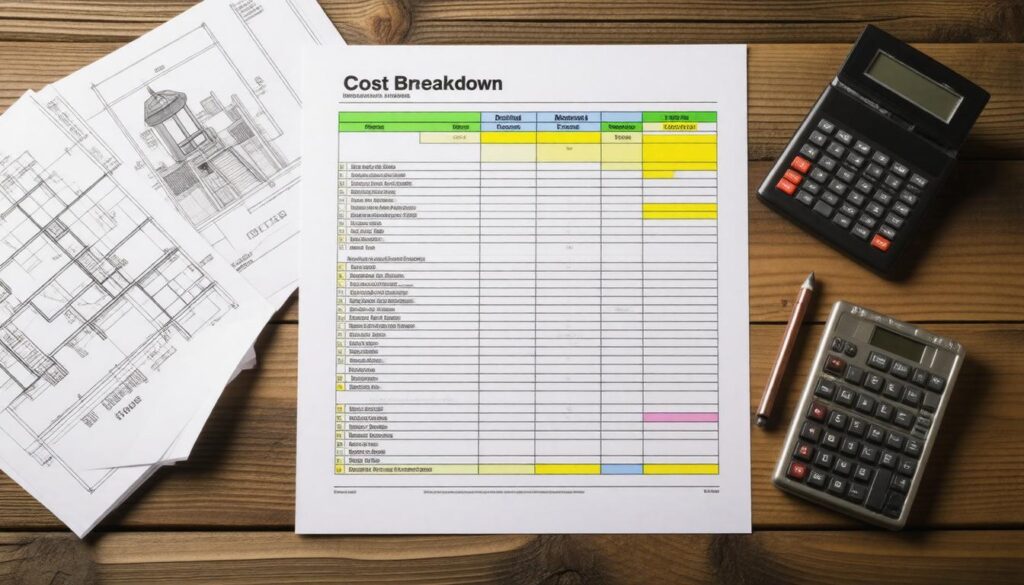
When budgeting for water well installation, each component plays a distinct role in shaping the final price tag. One of the major factors is the drilling itself. On average, drilling costs range from $25 to $65 per foot, which means drilling a typical 200-foot well could run anywhere from $5,000 to $13,000. This variance depends largely on ground conditions; rocky soils or clay-heavy terrain can slow progress, pushing costs higher due to equipment wear and longer operation times.
But drilling alone isn’t all — the necessary permits and licensing fees must be factored in as well. These are essential to comply with local regulations, often overseen by entities like the Texas Commission on Environmental Quality (TCEQ). Such fees typically hover between $100 and $750 depending on your location within Texas Hill Country. Skipping this step isn’t just illegal—it can lead to costly fines or even forced well closure down the line.
Once the hole is drilled, attention turns to the equipment that delivers water into your home or irrigation system. A quality pump is pivotal here; pumps vary widely in price from $500 up to $2,000 based on type and capacity. For instance, submersible pumps demand a premium but offer greater efficiency for deep wells compared to jet pumps which tend to be more affordable but suited for shallower sources.
Complementing the pump is the pressure tank—a crucial buffer that regulates water flow and pressure—costing roughly $300 to $1,500. Choosing the right size tank ensures your system runs smoothly without frequent cycling that could reduce pump life.
You shouldn’t overlook control systems either, ranging typically from $100 to $300. These include pressure switches and electrical components that manage when your pump activates or shuts off. Reliable controls not only protect your equipment but also help conserve energy and extend system durability.
| Cost Component | Estimated Price Range |
|---|---|
| Permits and Licensing | $100 – $750 |
| Drilling (per foot) | $25 – $65 |
| Pump | $500 – $2,000 |
| Pressure Tank | $300 – $1,500 |
| Control Systems | $100 – $300 |
What this means practically is that a seemingly straightforward project quickly involves many moving parts, each contributing to the total investment. When you consider a simple scenario—installing a 200-foot deep well with mid-range equipment—your costs can comfortably fall between $7,500 and $17,000 or more. Knowing this range upfront lets you plan realistically and avoid surprises.
A prudent strategy sharpens focus on selecting reputable professionals who provide transparent quotes and detailed breakdowns—including services like water quality testing and system inspections. Stevens Drilling specializes in Texas Hill Country installations with competitive pricing tailored for our community’s unique needs. Their experience since 1968 guarantees not just cost-effective but long-lasting results.
Understanding these financial commitments prepares you for upfront expenses, but remember: ongoing care is key to safeguarding your investment and ensuring reliable water supply over time.
Maintenance Tips for Longevity
Consistent maintenance is the backbone of keeping a water well running efficiently and extending its lifespan. Unfortunately, many homeowners focus heavily on the initial investment, then unintentionally neglect the upkeep that safeguards their well over decades. Water wells are not “install-and-forget” assets; they need regular attention to avoid costly failures and maintain clean, safe water.
The first key step in well care is scheduling regular inspections at least once a year. A trained professional should examine the entire system — from the well casing buried underground to the pump that moves water and the pressure tank that regulates flow and pressure.
These inspections help identify early signs of wear, corrosion, cracks in the casing, or mechanical malfunctions before they escalate into emergencies. Professionals also check that electrical components are safe and functioning properly. At Stevens Drilling, we often find that annual checkups prevent small issues from turning into major repairs, saving our customers significant time and money.
Alongside inspections, keeping the inside of your well clean plays an essential role in maintaining both water quality and equipment health.
Cleaning and sanitizing your well periodically — typically every few years or after any event that might introduce contamination — is critical to prevent microbial growth and safeguard water purity.
The simplest way to disinfect a well is by using unscented household bleach diluted according to health guidelines. This process involves flushing bleach carefully through the system to kill bacteria without damaging equipment or altering water chemistry. It’s important to follow Environmental Protection Agency (EPA) or local health authority instructions precisely to avoid any risks.
Neglecting this step can allow biofilms and bacteria to accumulate on pipes or inside storage tanks, leading to foul tastes, odors, or even health risks. Proper cleaning also reduces mineral deposits that can clog pipes or reduce pump efficiency over time.
However, even with precise sanitization, maintaining water quality monitoring is non-negotiable.
Testing your well water annually for contaminants such as coliform bacteria, nitrates, heavy metals, and other pollutants provides vital peace of mind about safety. According to EPA data, around 15% of private wells tested exceed contaminant limits that pose health concerns.
Without regular testing, you might unknowingly consume unsafe water or allow deteriorating conditions just below the surface. Early detection allows prompt treatment decisions like installing filtration systems or shock chlorination.
| Test Type | Frequency | Purpose |
|---|---|---|
| Bacterial Testing | Annually or if changes occur | Detect harmful pathogens |
| Nitrate Testing | Annually | Identify agricultural or septic contamination |
| Heavy Metals | Every 3-5 years | Check for naturally occurring or industrial metals |
| pH & Hardness | Every 1-2 years | Maintain equipment function & water taste |
Alongside these tests, tracking changes in taste, color, or odor serves as a meter for when immediate checks might be needed outside regular schedules.
Keeping your well cleaned, inspected, and tested not only preserves water quality but protects your entire home’s plumbing system from damage caused by poor-quality source water. For residents across Texas Hill Country—from San Antonio to Boerne—Stevens Drilling recommends partnering with trusted professionals who understand local aquifers and provide comprehensive maintenance packages tailored to your unique needs.
“A well maintained is a well preserved.”
Keeping these ongoing maintenance priorities at heart will ensure you enjoy reliable water supply for years without unexpected breakdowns or contamination surprises—truly making your investment last long beyond installation day.
Regular inspections, proper cleaning, and vigilant water testing form the foundation of a healthy and durable well system. Prioritizing these steps today safeguards your water quality and protects your home for decades to come.